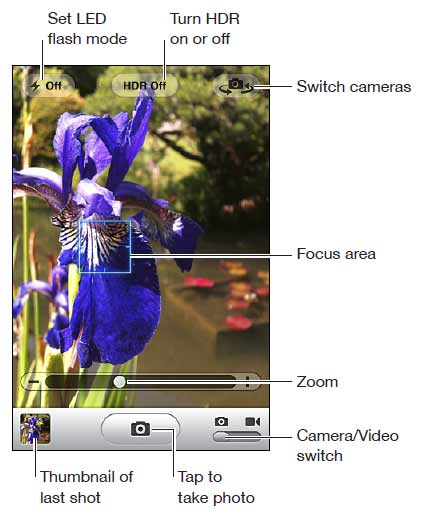
With iOS 4.1 software update, you can enable HDR feature for photos. HDR (High Definition Range) photography feature allow you to take better looking and more detailed photos. HDR mode takes multiple photos in different exposure settings: underexposed, overexposed, normal exposure. Then it combines all photos for a detailed and better looking photo.
Enable ‘High Definition Range’ on iPhone
1. Make sure you are using latest iOS software. Update it to iOS 4.1 or above.
2. Then open the camera app on your iphone.

3. Tap on the HDR button at the top of screen to turn it ON (or OFF). When HDR is ON, the flash is turned OFF. Also, in Settings choose Photos, then turn Keep Normal Photo on or off. If the setting is turned off, then HDR version of a photo is saved.
4. Then click photo, iPhone will take multiple shots and save HDR version of the photo.

Time for taking HDR photos is same, however it does take longer to save photo (as multiple photos with different exposure are handled). Final HDR photo will have ‘HDR’ label for easy identification. For sure, HDR photos look better than usual photos taken on iPhone.
